Database options
When creating a Django project, the default configuration uses an SQLite database. It is automatically set inside the file, settings.py file. This means that you can directly start working with the database immediately.
SQLite
SQLite is known as a user-friendly zero configuration database. And there are many advantages to using it. You don’t need to install anything to support the database as it doesn’t run as a server process. This means the database does not need to be started or stopped, or require additional configuration files. As a result, this type of database is suitable for small projects or rapid prototyping.
Suppose you are developing projects that need a quick test environment. In that case, SQLite is a solid option as it doesn’t require running a separate server.
There may be occasions when a more scalable robust database is needed. For example, when moving from a development to a production environment.
Django supports the use of many databases with minimal configuration. These include:
- PostgreSQL
- MariaDB
- MySQL
- Oracle
- SQLite
Among these PostgreSQL and MySQL are most commonly used.
Django has features to support each database that make it easy to connect and work with. It provides a generic way to access the different types of databases and a connection to a database is established by knowing the type of database.
Within this lesson, you will deal with one of the most popular and widely used databases, MySQL.
MySQL
To connect to a MySQL database, you need to provide the address where the database is running, the port number and the database name you wish to connect to.
You also need a database driver which is responsible for mapping all the models and translating Python queries into SQL instructions via the model.
To use MySQL, the driver or connector, MySQL client needs to be installed. When you connect to a database, the connection opens on each request and is kept open for a specific time. The connection is controlled by the CONN_MAX_AGE parameter and represents a certain time before the connection is automatically closed.
To establish a connection, you must configure parameters under the databases option of the settings.py file. By default, the configuration is for SQLite. You can also use an options file for MySQL to store the database connection credentials and you will learn about it later in this lesson.
The credentials can include the database name, user name and password and are stored in a separate configuration file.
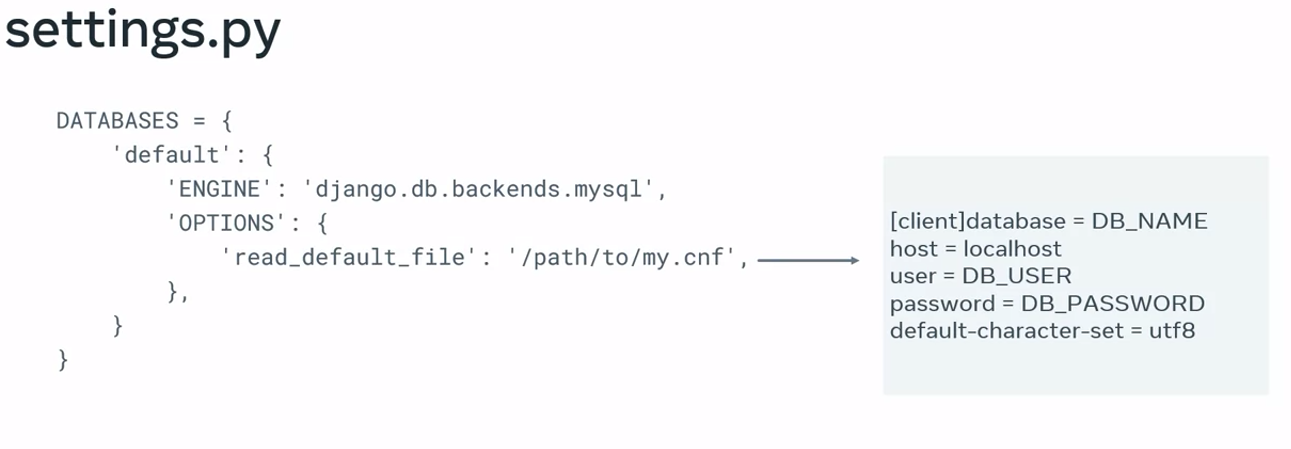
Inside the file settings.py, the MySQL connection reference looks for the connection file in the directory etc/mysql. And notice that this is not within the Django project. This is a deliberate security measure.
While Django creates all the tables based on the models you have from the migration scripts, the initial setup requires you to manually create the database. Creating a database requires a connection to the database itself and sufficient permissions for authentication and authorization.
WARNING
It’s important to remember that you must keep the database secure by assigning security roles and using strong user names and passwords.
The data stored may contain end users personal information. So keeping it private and safe is of the utmost importance. As a developer, you need to be aware of potential security risks. And one significant risk is the security of the credentials of your database.
Allowing someone to know or access the user name and password of your database can have major consequences. The database connection credentials are only accessible on the virtual machine or server where the web application is running.
Configuring MySQL Connection
By default, Django uses the SQLite database for storage and retrieval of the app data, as Python has built-in support for it. However, you can use any of the following databases supported by Django:
- PostgreSQL
- MariaDB
- MySQL
- Oracle
- SQLite
In this Reading, you’ll learn the steps to enable a MySQL connection with a Django application.
Advantage of MySQL
The SQLite database has a lot of limitations. It is serverless and doesn’t have a user management system. It is useful for smaller applications and for the development of a prototype to be upgraded eventually for databases that are scalable and support client-server architecture.
MySQL is an open-source database and has a lot of advantages over SQLite, such as scalability and authentication.
Install MySQL
To install the MySQL server, download the installer appropriate for your operating system from https://www.mysql.com/downloads/
. For Windows, use the mysql-installer-web-community-8.0.30.0.msi and follow the wizard-based installation steps.
First open a command line terminal, then start the MySQL command line client with the following command:
mysql -u root -pYou will be prompted to enter the password set at the time of installation. In the command terminal, you will get the MySQL prompt. You can now enter any SQL statement in it.

Start by creating a database with the following command:
Create database mydatabase;The show databases; command will show the list of currently available databases.
Install MySQL DB API Driver
To interface a Python program with MySQL, ensure you have a DB API-compliant driver. There are a number of Python drivers for MySQL available. Django recommends mysqlclient to be used. Install it with pip installer.
pip3 install mysqlclientEnable MySQL
To be able to use MySQL, the DATABASES variable in the Django project’s settings file must be properly configured. By default, it is set to the connection parameters for SQLite. Remove those statements. You have to add MySQL-specific settings in their place.
You must configure at least one database in the DATABASES variable. For the configuration of the first database, its name should be ‘default’.
The settings include the database engine, name of the database, username, and password, along with the host IP address. This defaults to the localhost 127.0.0.10 and the port defaults to 3306.
Settings.py
DATABASES = {
    'default': {
        'ENGINE': 'django.db.backends.mysql',
        'NAME': 'mydatabase',
        'USER': 'root',
        'PASSWORD': '',
        'HOST': '127.0.0.1',
        'PORT': '3306',
        'OPTIONS': {
            'init_command': "SET sql_mode='STRICT_TRANS_TABLES'"
        }
    }
}
The other optional parameters include:
sql_mode: The session SQL mode will be set to the given string. It defaults to'STATIC_TRANS_TABLES'to prevent invalid or missing values from being stored in the database.default-character-set: The character set to be used. Default is utf8.read_default_file: MySQL configuration file to read.init_command: Initial command to issue to the server upon connection.
Create database tables
The startproject template installs some Django apps by default. Some examples include admin, auth and sessions.
Remember that you need to create the necessary database tables for these apps.
Run the migrate command to use the models in these apps and build their respective table structure in the current mysql database.
python manage.py migrateInside the MySQL terminal, run the following commands:
use mydatabase;
Show tables;
It shows all the tables created by the migration.
Instead of viewing the data in the MySQL terminal, add a MySQL extension from VS Code extension library
VS Code extension for MySQL
From the VS Code extension marketplace, search for MySQL and install the extension.
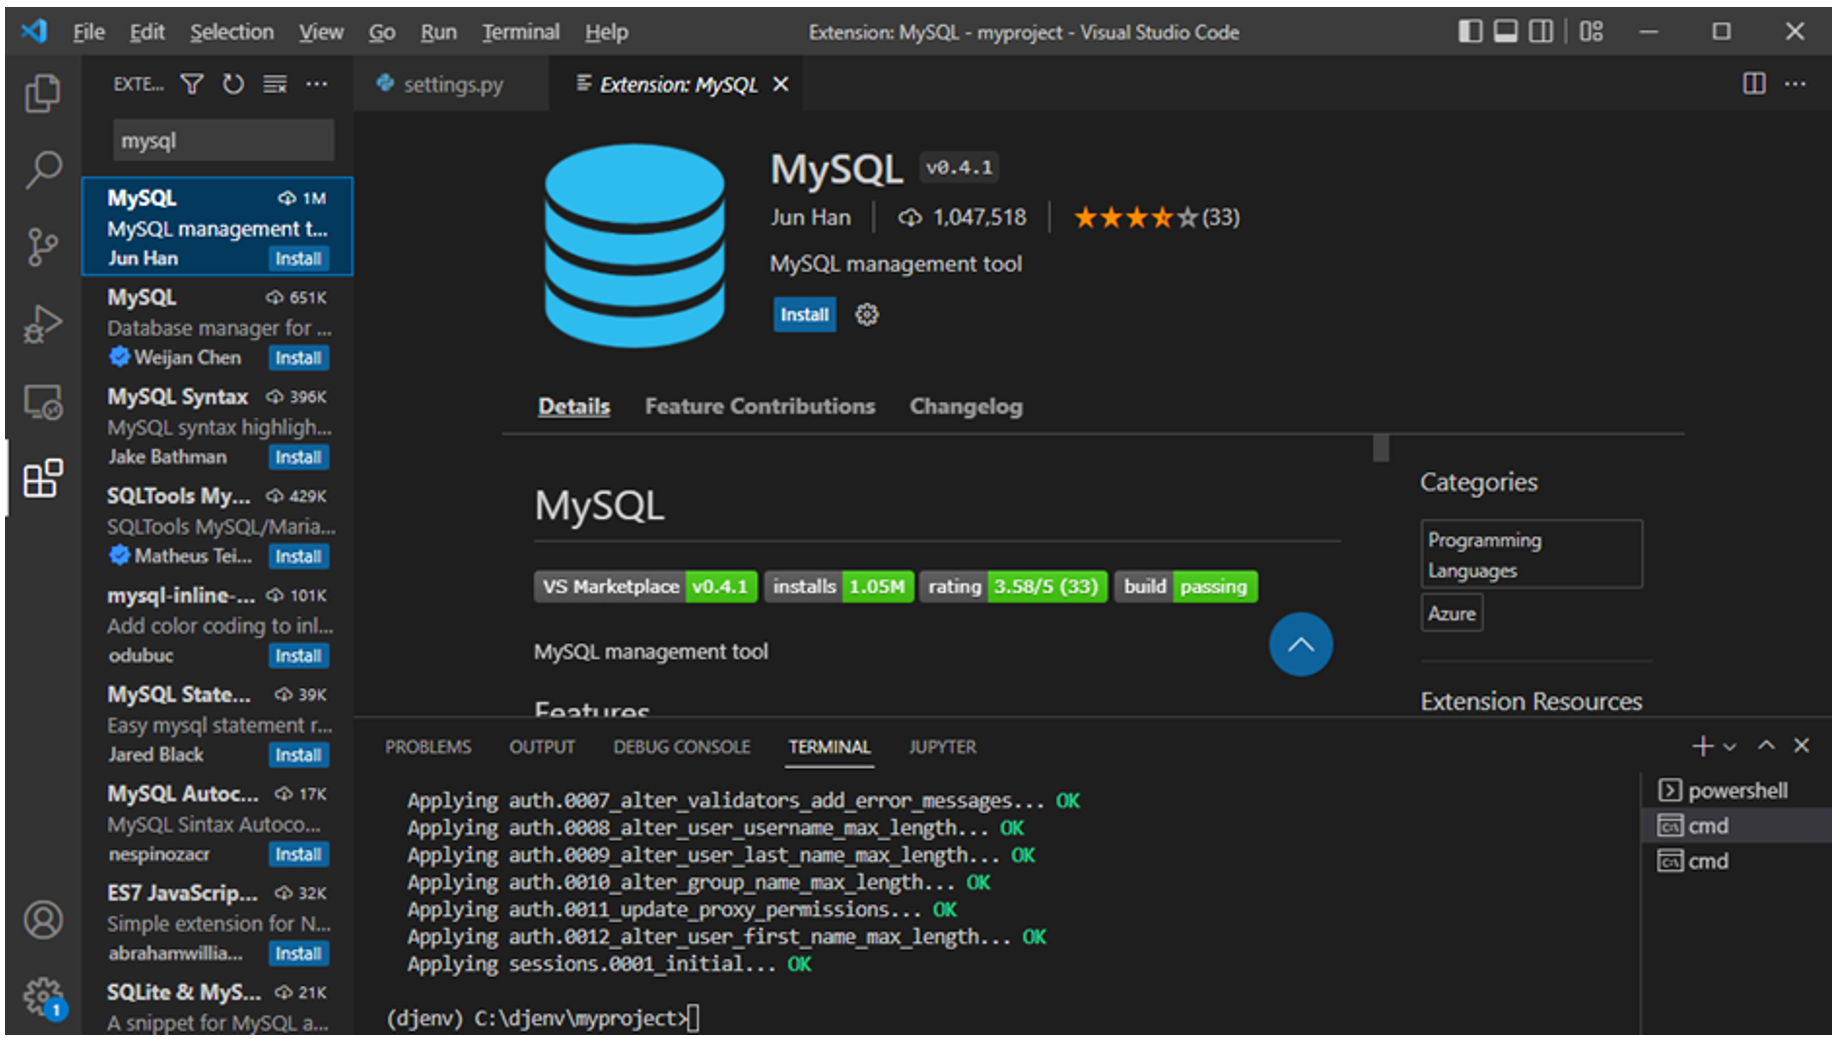
MySQL appears in the explorer.
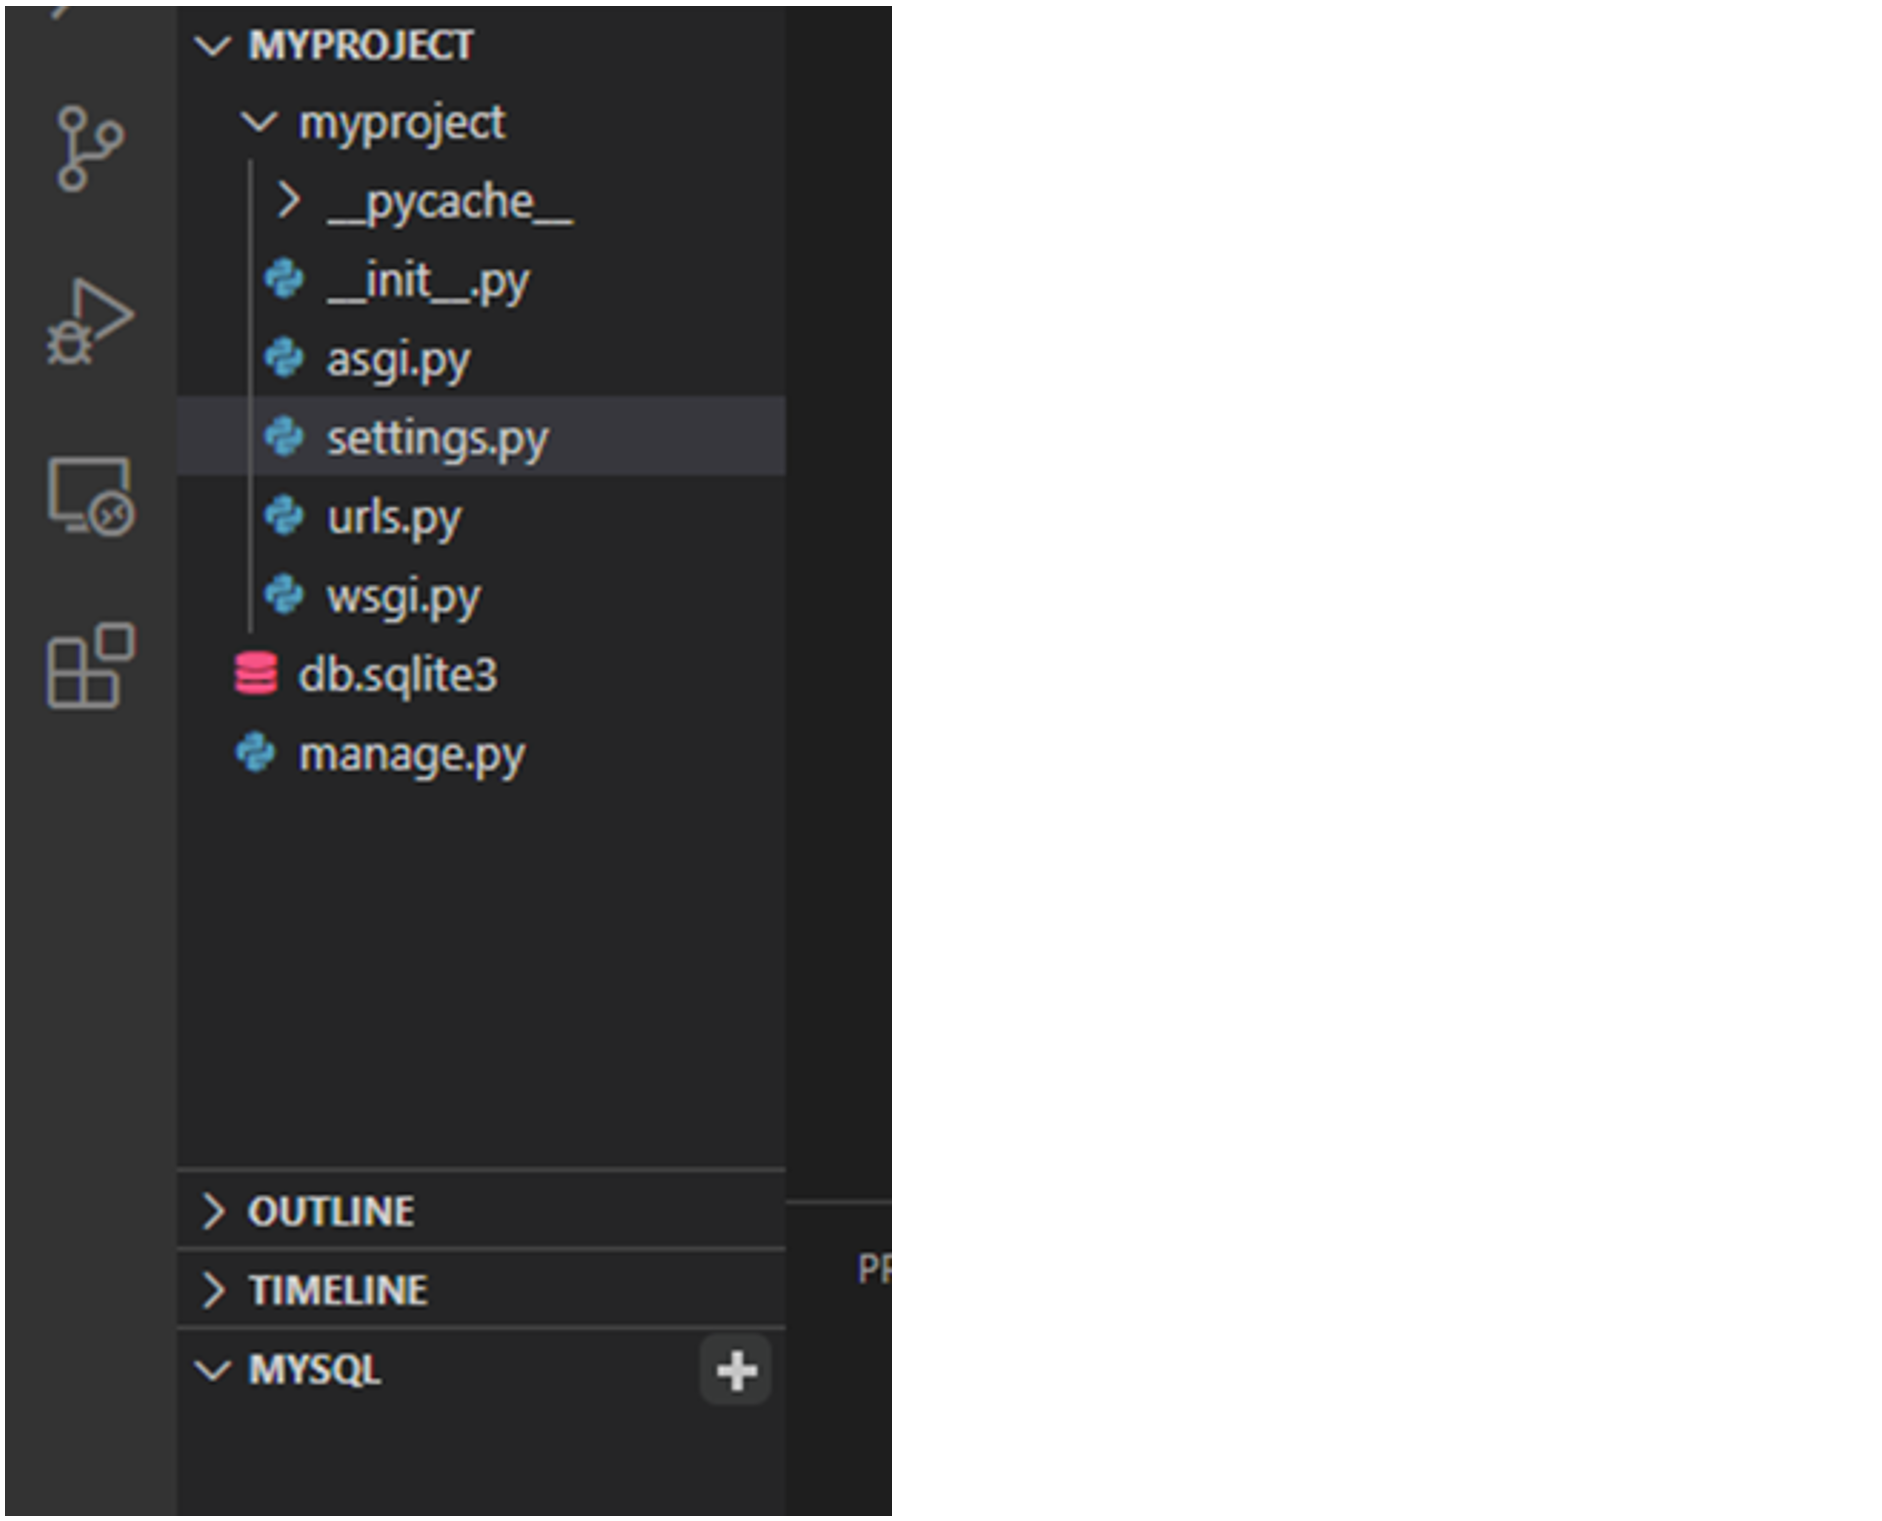
Click on the + button and enter the following details:
domain name: localhost
user:root
password=''.
Note: Some users may encounter an error such as: Client does not support authentication protocol requested by server; consider upgrading MySQL client
- This usually indicates a user privilege issue. In such cases first run a command such as:
ALTER USER 'root'@'localhost' IDENTIFIED WITH mysql_native_password BY 'password';
- Then refresh privileges by running a command such as:
flush privileges;
Now, the localhost appears in the explorer bar.
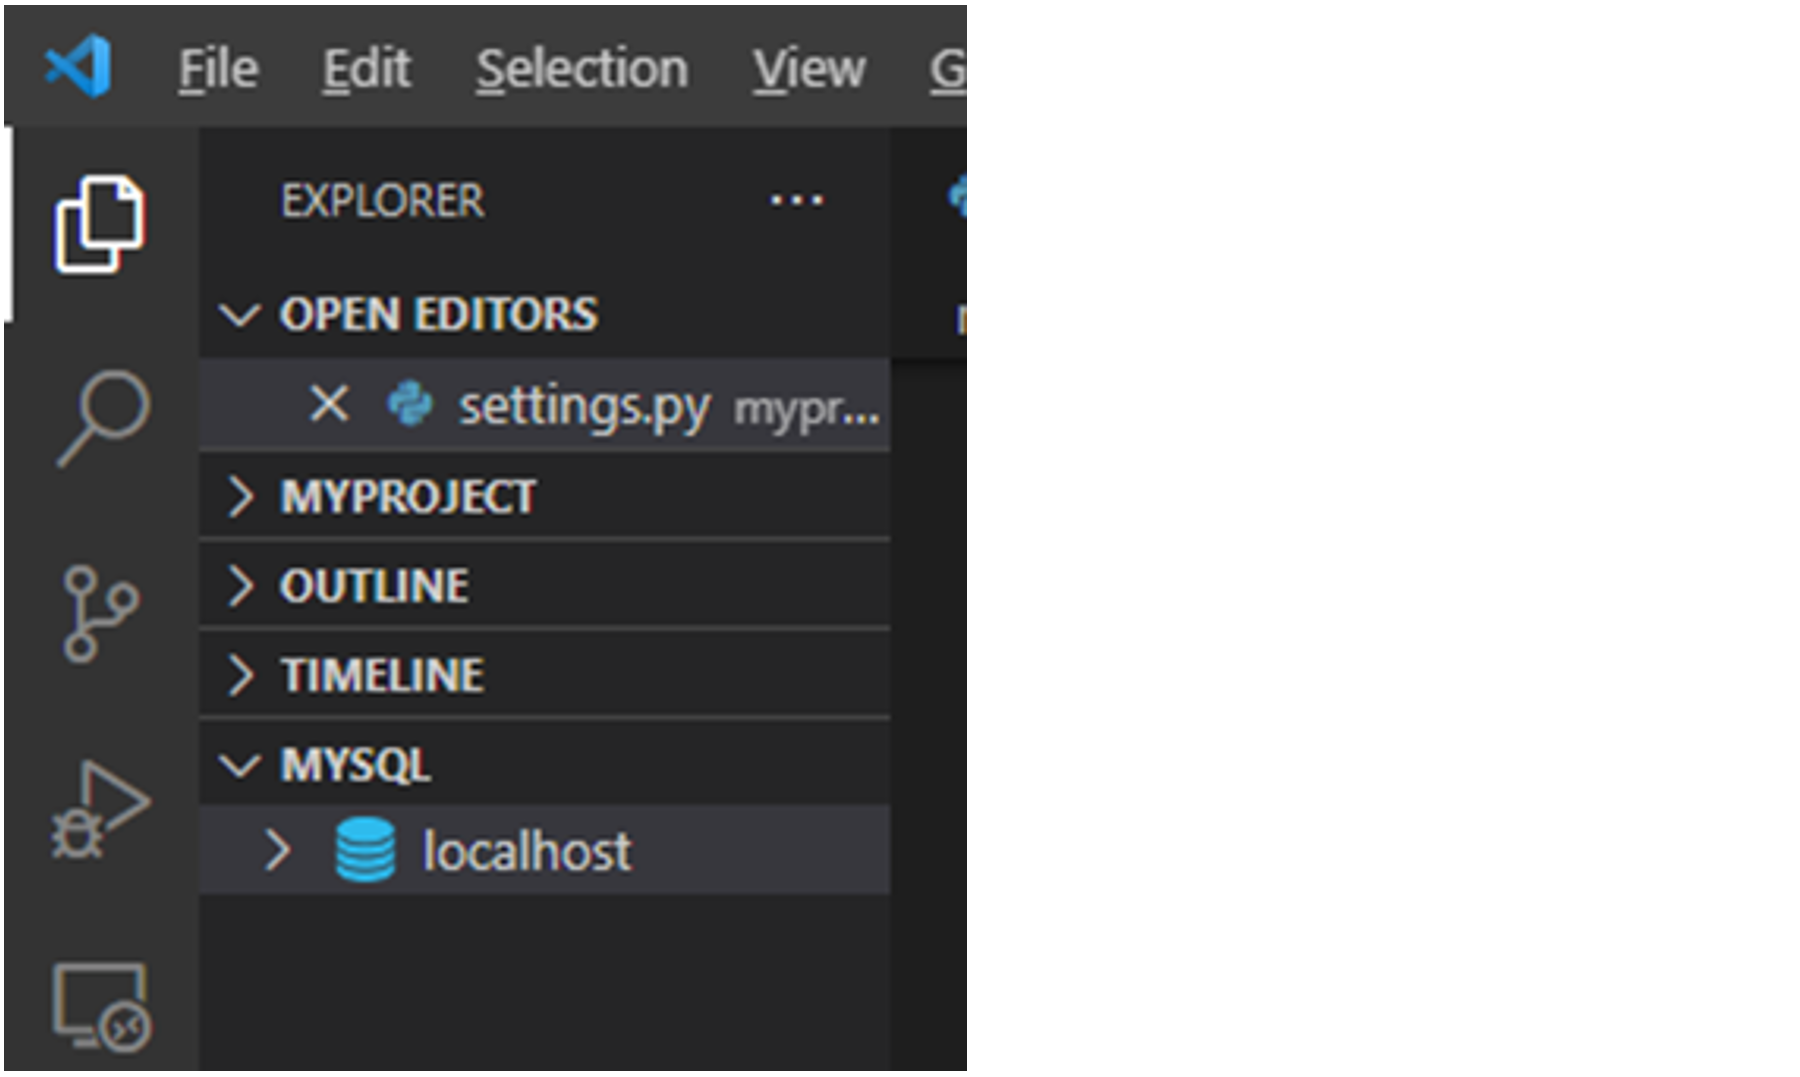
Expand the section by selecting the drop-down arrow and choose mydatabase. All the tables required for the INSTALLED_APPS will be visible.
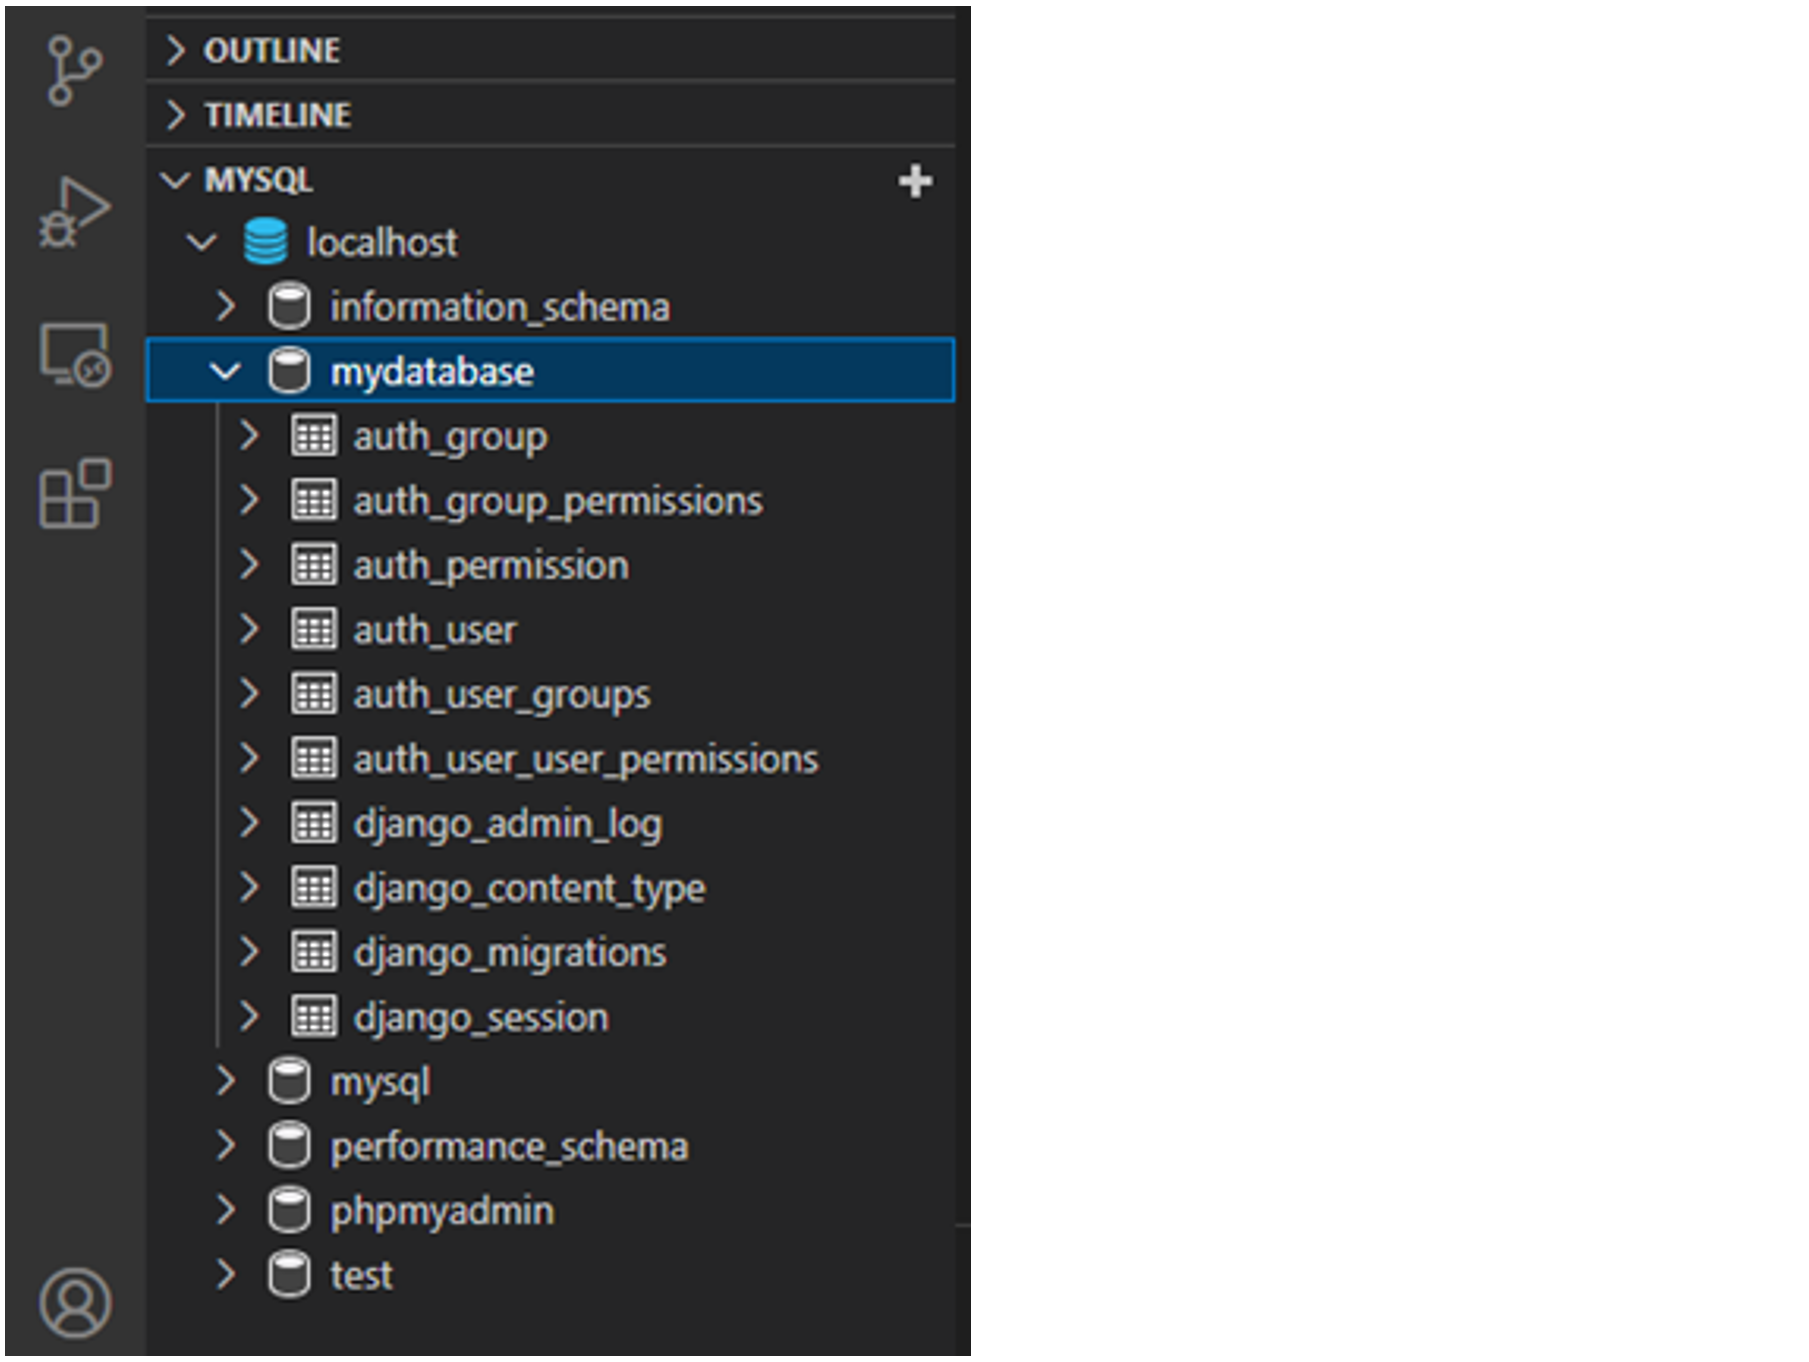
In this reading, you have explored how to connect MySQL database with Django.
Setting up a MySQL connection
Django is so popular because it’s open source with a rich set of tools that allow for easy scalability and rapid development. MySQL is one of the many databases which Django supports.
Recall that database has helped store data from different sources that can be used for different purposes, such as adding content to a webpage. The Django development framework has internal support for connecting with different databases.
Previously, you learned that Django uses something called an object-relational mapper or ORM. ORM facilitates the mapping of data between databases and the application model without the need to write any SQL queries.
MySQL is a popular database management system and can be used with Django when there is a heavy data load.
Features of MySQL
- It’s open source and well-documented.
- It’s reliable and quick as data storage is done efficiently in memory.
- It’s scalable and can work with small to vast amounts of data.
- Finally, it’s secure and provides a layer of security with encrypted password protection that is flexible and verification based.
It’s important to know that before you begin working with models, you need to have a database installed. Django provides the SQLite database by default and no pre-installation is required.
However, if you want to use another database, you must install and configure it.
Installing MySQL
Before you can begin using MySQL with Django, ensure that MySQL is installed on your computer. Depending on the operating system in use, you can use the different site packages that are available on the MySQL website.
The examples here refer to macOS. You can find command-specific too in their operating systems from the additional reading at the end of this lesson.
For macOS, you can use a package manager such as Homebrew to manage your installation. Begin by typing the command brew install MySQL.
Next, go into MySQL to access the databases. Note that there are specific commands when using macOS. Now type the command mysql -u root -p.
Dash u refers to the username, whereas root dash p is the password.
Now press “Enter” to action a password request. Notice that the password entered here matches the password set for the root inside the MySQL database.
Create database
Inside the shell, go ahead and type the command, show databases, and end your query with a semicolon.
This generates a list of all the MySQL databases on your MySQL server.
For example, create a database called Feedback. To do this, type the command create database feedback;. Now run the show databases command again. Now your list includes the new feedback database you’ve just created.
Create user
The next step is to create a user for the Django project. Run a command:
CREATE USER 'admindjango'@'localhost' IDENTIFIED BY 'password';NOTE
Note that there may be variations to this particular command, but this is one of the simplified versions.
The final command here is flush privileges.
Now, the database is ready to use.
The next step is to install a database connector. This is used to allow the MySQL database to interact with the Django ORM. In this example, you’ll use MySQL client library. There are alternative options you can use, such as any of the Python three database connector libraries, that are compatible with Django.
For now, exit the MySQL shell and type the command pip3 install mysqlclient. Note that you may need to install extra files that allow this specific library to work on this operating system.
settings.py
Once the database and the database connector are in place, go to the settings.py file inside the My Project folder. Here, Django will reference information about the database connection.
To use MySQL, the database needs to be in a specific format. Replace the database code with that of the settings for MySQL and replace the database name with feedback.
It’s important to know that in this example, the database name is feedback. Always check the name of the database that you want to connect to.
Next, replace the user with admindjango and the password with password.
DATABASES = {
	'default': {
		'ENGINE': 'django.db.backends.mysql',
		'NAME': 'feedback',
		'HOST': '127.0.0.1',
		'PORT': '3306',
		'USRE': 'admindjango',
		'PASSWORD': 'password'
	}
}
The final step before you can use the database is to run the migrations. Let’s run the following two commands. First, type the query python3 manage.py makemigrations, and press “Enter”. Next, type python3 manage.py migrate. Notice the list of migrations you’ve just performed. However, your view of this is limited because there are no entries inside the database.
In the absence of using MySQL database for the majority of the course, it is always good to know that there are alternatives available to the SQLite database and these are installed by default inside Django.
Additional resources
The following resources will be helpful as additional references in dealing with different concepts related to the topics you have covered in Database Configuration.
Installing and configuring MySQL with Django
Previous one → 10.Admin | Next one → 12.Templates